This topic takes you through the configuration of the Sensor properties which include General Settings, Scale, Alarms and Filters.
Accessing Sensor Properties
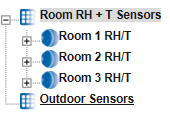
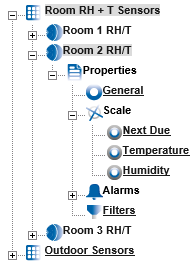
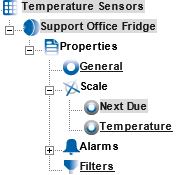
To access Sensor properties highlight the Zone name that contains the Sensor that is to be edited, see below.
![]()
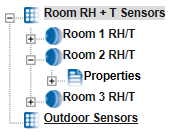
To see the available Sensors click on the + symbol next to the highlighted Zone. The selected branch will expand showing all the available sensors, see below.
To view the properties of the Sensor that is to be edited click on the + symbol next to the Sensor name. This will expand the branch again, see below.
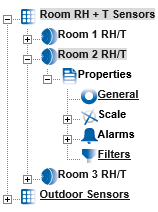
To access the individual Sensor properties click on the + symbol next to properties this will expand the branch again, see below.
General Properties
To edit the General Sensor Properties click on the underscored link General .This opens the General Information window, see below.
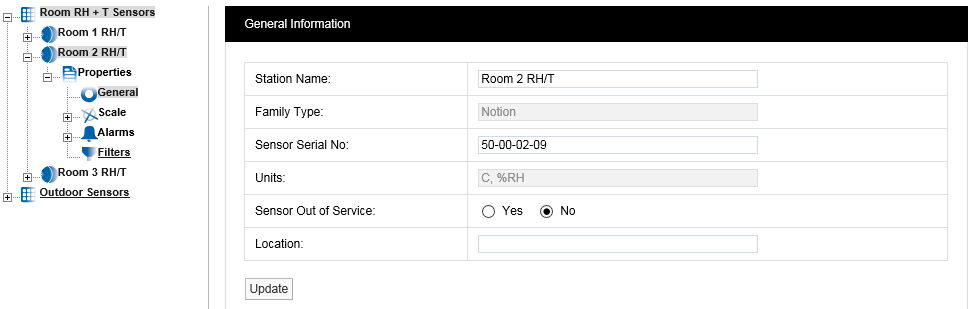
Station Name:
The Station Name can be changed, be aware that changing the name may be confusing for other Users as the Station Name normally relates to the physical location of the Sensor. Changing the Station Name no longer starts a new data file.
Family Type:
Notion.
Sensor Serial No:
This is set when the Sensor is added to the system.
Units:
This is the units for each of the channels for the Sensor. These cannot be changed here as they are set by the Sensor install. (But see Global Units.)
Sensor Out of Service:
This feature allows you to temporally take a sensor out of service. This is useful if the Sensor is measuring something that is turned off for a period and monitoring is not required. It avoids alarms being generated while the Sensor is not required. Out of Service Sensors are displayed with blue text in the Live View.
Location:
The Location field allows you to put a note against the sensor to assist with physically locating the Sensor within a building. This is an aide-mémoire and serves no operational function within the software and is not mandatory.
Once you are happy with any changes select Update.
Scale
To access Calibration Scale properties click on the + symbol next to Scale and the tree will be further expanded, see below.
The Scale section allows you to set Graph Scaling, Decimal places and the Next Due calibration date for Calibration Reports.
If you have iSense Sensors, see the documentation delivered with the iSense unit for specific calibration details.
Next Due
This feature allows the next Calibration due date to be entered into the system. A PDF Report can be triggered from the due date field. This is very useful in a regulated environment where exceeding the stipulated calibration period would cause a non-compliance. (See Calibration Reports for more information on Calibration Reports.)
To access Next Due click the link, the Next Calibration Due Date windows appear, see below.
|
|
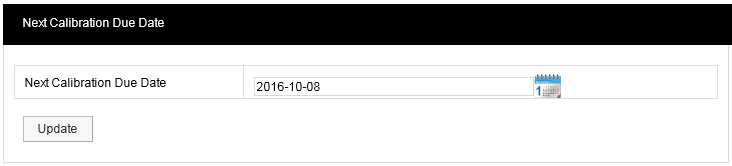
To change the due date enter the new date into the Date field (in LYLY-MM-DD format) or click on the calendar icon and select the required data. If the Sensor has just been added to the system the date in the form is one year from the date that the Sensor was added.
A typical period would be 12 months for environments that are contaminated or the constant operating humidities are very high. Where the environments are clean and the averages humidities are mid-range then every 24 months would be acceptable.
When you are happy with the new date click Update.
Channel One/Temperature Calibration
To enter the Temperature scale page select Temperature. The Temperature window appears, see below.
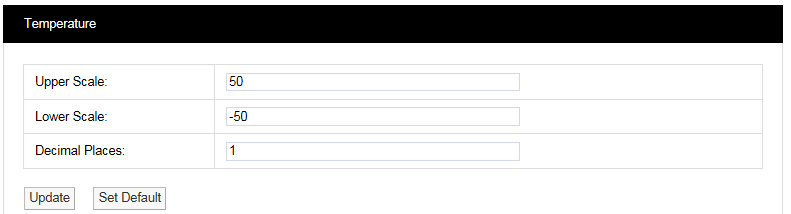
Each Sensor is installed with a default range. These are only a suggestion and can be changed to suit your requirements.
The defaults can be re-loaded by selecting Set Default,you will be asked to confirm see below.
Once the new Scale details are known these can be entered into the table above. Select Update to confirm the details. If correct the following message will be displayed:

Channel Two/Humidity Scale
To access the Humidity scale settings click Humidity and repeat the steps above.
Note: Not all Sensors/Transmitters have two channels, some have only one.