| Note: | The functionality described in this Section only applies to System Administrators or Users who have been given System Administrator access rights. The Admin User is created automatically when Notion Pro is installed. The Admin User cannot be deleted. |
User Management allows you to add Users, edit Users add External Contacts and edit External Contacts.
Adding and Editing Users
|
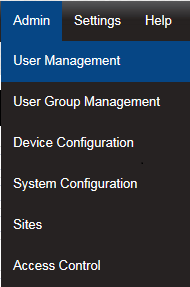
Select Admin then User Management from the drop down menu to access the User Management section. The Admin menu is located at the right hand side of the top menu bar. After selecting User Management a new window appears see below.
|
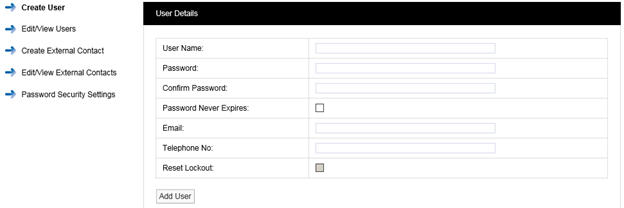
Add User Name
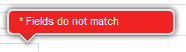
In the dialog box above enter a new User Name. If the user name is already taken the following message will be displayed.
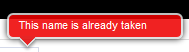
Select another User Name until the following message is displayed:
![]()
Enter a password into the Password field, now re-enter your password into the Confirm Password field. It is not recommended to cut and paste the password as this would copy a mistake to the Confirm Password field. If when typing your password into the Confirm Password field you make a mistake, the following message will be displayed.
If you have re-typed your password correctly then you will be able to proceed to the next step.
By default, Notion Pro requires passwords to be at least four characters long. The Administrator will not be able to set a minimum password length of less than four characters. This is configurable by the Administrator. The User ID and password cannot be the same.
Administrators may also require that user passwords have an alphanumeric and mixed case. In this case, passwords must have numeric characters, upper and lower case letters.
Note: It is recommended that a password be at least eight characters in length and contain at least one number, one letter, one uppercase letter.
Password Never Expires
By default user passwords are set to expire in 90 days, this is selectable by the Administrator.
Password Expiry does NOT apply to the Admin User password, which is always set to never expire.
Email:
This field allows you to enter your email address. This is used to receive the following:
•email alerts generated from the system
•email reports.
•password reminders.
Telephone No:
This field allows you to enter your mobile phone number. This is used to receive SMS text alerts generated from the system.
The number should be entered in the following format:
+44 123 987654
When you are happy that all details are correct, click the Add User button.
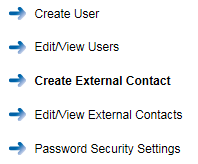
Edit/View Users allows you to edit existing user’s details. The following functions are available:
•Edit allows passwords to be changed along with email address, phone number and calibration technician status
•Delete allows single or multiple users to be deleted
•Privileges allows users to be set with viewing rights.
|
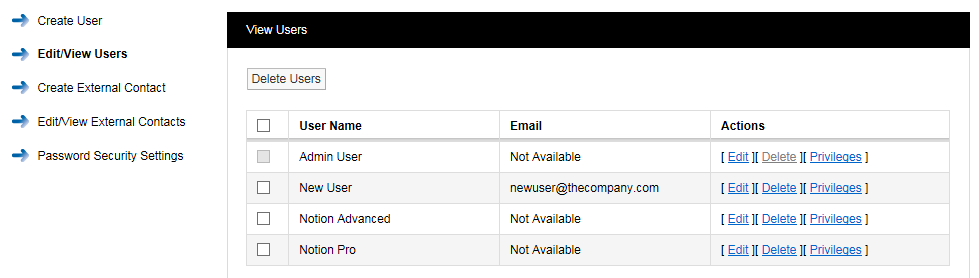
To edit new user, select Edit/View Users. A new window opens, see below.
To edit a user select Edit. After selecting Edit a new window opens, see below.
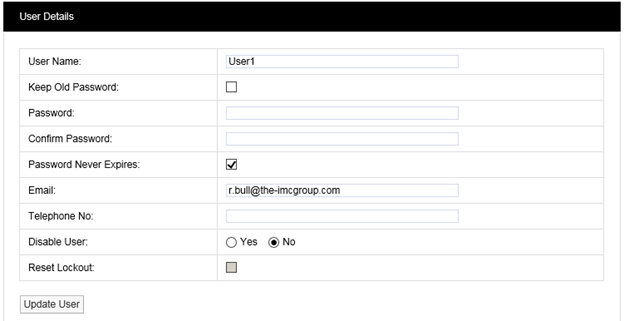
In this screen you can change the User’s email address, mobile phone number or calibration technician status. If you wish to update the User without changing your password tick Keep Old Password and the existing password will be populated in the password dialog boxes. If you wish to change your password follow steps in Add Password. (See also Change a User's Password.)
Reset Lockout
Locked out users can be reset from this screen, by selecting Reset Lockout.
When you are happy that all details are correct, click the Update User button.
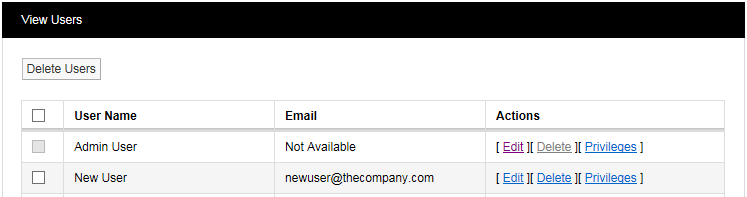
There are three methods for deleting users:
1.Select Delete. This will delete the record selected, once you are happy with your selection confirm delete by selecting YES on the warning dialog box (see below.
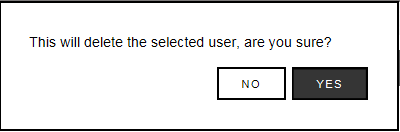
2.If more than one user is to be deleted select the tick box to the left of the name, tick all users to be deleted. Once you are happy with your selections click Delete Users select confirm delete by selecting YES on the warning dialog box.
3.By clicking the tick box next to User Name all users will be deleted. WARNING, this will select all users for deletion. Once you are absolutely sure you want to delete all users click Delete Users and confirm delete by selecting YES on the warning dialog box.
WARNING: Deleting users cannot be undone.
This allows individual users to be assigned viewing rights to Sites and Zones. (See Site Management for more information on Sites and Zones.) Click on Privileges in the View User window (see Edit/View Users) for the User that you wish to assign viewing rights to. This gives the Assign Privileges dialogue box (see below).
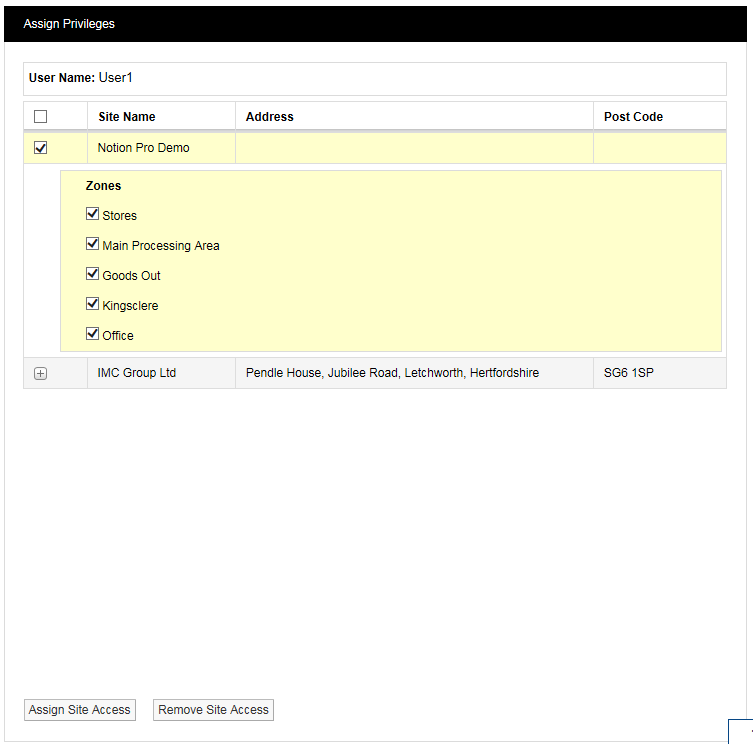
In the example above, User1 has been pre-allocated with viewing access to the Notion Pro Demo Site and the listed Zones. Click Assign Site Access or Remove Site Access as required. See also User Group Management.
External contacts are used when there is a requirement to email reports or send SMS alarms to people who are not Notion Pro users.
|
To create external contacts, select Create External Contact. After selecting Create External Contact a new window opens, see below. |
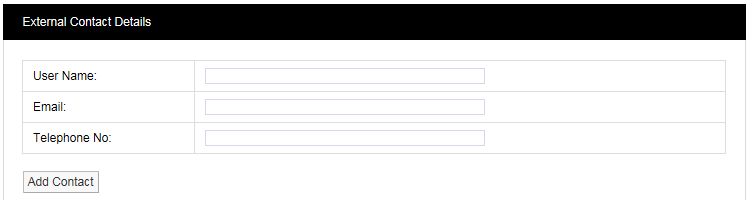
Enter User Name, Email and Telephone No for an external user. There is no requirement for a password as these users do not have access to Notion Pro.
Edit/View External Contacts
|
To Edit/View external contacts, select Edit/View External Contacts. After selecting Edit/View External Contacts a new window opens.
|
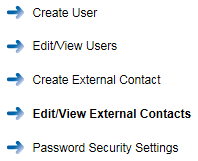

To edit external user details follow steps at Edit, to delete external users follow the steps in Delete User.
|
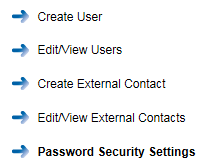
To Edit/View Password Security Settings, select Password Security Settings. Once selected, the Password Security Settings window will be shown see below.
|
Figure
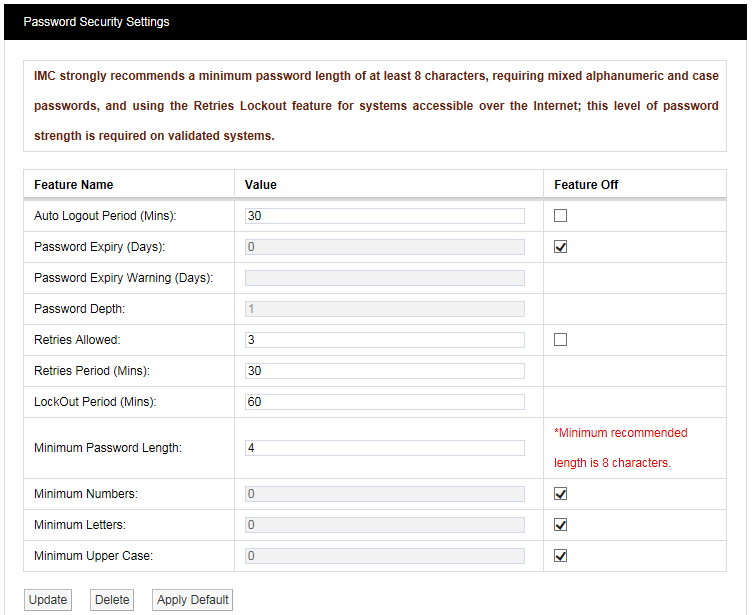
The Password Security Settings window is used to set the system’s login security features. Login security features apply globally to all logins, with some exceptions for the Admin User account, as detailed below. Individual features can be disabled by selecting the associated Feature Off tick box. Clicking Apply Default will return Password Security features to the default settings. click Update to apply any changes made.
Auto Logout Period (Mins)
If a login session is left unattended, then the system will log the user off after the Auto Logout period. The auto logout period can be set by the Administrator.
When Auto Logout activates, the browser will continue showing the last screen actioned by the user, and if on the Live View, data values will continue to update on the screen. However, when the user tries change window or enter a value, then the browser will show the Login screen and require the user to log back into the system.
The Auto Logout Period can be set between 5 and 60 minutes, the default period is 30 minutes.
Password Expiry
Passwords will automatically expire, and need to be changed, after the Password Expiry time. By default user passwords are set to expire in 90 days, this is selectable by the Administrator. Password Expiry does NOT apply to the Admin User password, which is always set to never expire.
Users are warned on login within 10 days of expiry, and given the option to type in a new password. This can be done any time between the first warning and expiry. The warning time is settable by the Administrator. This will be a countdown warning and will decrease as the expiry deadline approaches.
Once a password has expired no further access will be allowed for that user until they enter their expired password at which point the system will force a change before any further progress can be made.
Password Depth
This option is NOT available on the standard version of Notion Pro.
The Password Depth sets the number of previous passwords that cannot be immediately reused by a user. A password depth can be set globally, between 1 and 10.
Retries Allowed
This is the number of failed login attempts allowed for a username, within the Retries Period, before the user is locked out. Locked out users are informed of their locked out status, when they try to login.
Lockout Period is the time that a user will be locked out after the Retries limit is exceeded.
By default users will be locked out for 60 minutes after three consecutive failed password login attempts within a 30 minute period. Where a lockout occurs, the user will be informed of the lockout period by a message on the browser, and the lockout will be recorded in the activity log.
The number of Retries Allowed can be up to 10. The Lockout Period can be up to 1440 minutes and the Retries Period can be between 10 and 1440 minutes. The Admin User is never locked out.
A lockout value of 0 will lock out users until reset by the Administrator. Any Administrator lockout will be for 30 minutes, (this prevents the Administrator becoming permanently locked out).
A Reset Lockout tick box is available on the User Details screen. This control will normally be greyed out, and will only become active when the user is currently locked out. This control is only accessible by an Administrator. Administrators can reset a locked out user from the Edit/View Users window, see Edit.
Username Reuse
Deleted usernames cannot be reused for the period of time specified by Username Reuse. If an Administrator types a Reuse blocked username into the User Details screen, a warning will be displayed. By default, Username Reuse checking is disabled.
Minimum Password Length
By default, Notion Pro will require passwords to be at least four characters long, the Administrator will not be able to set a password length of less than four characters. This is configurable by the Administrator. The User ID and password cannot be the same.
Accepted Value Ranges
The list below details the setting ranges for each option:
Auto Logout – 5 to 60 minutes.
Password Expiry – 30 to 730 days.
Retries Allowed – 1 to 10 attempts.
Lockout Period – 0 to 1440 minutes; 0 will lockout users until reset by the Administrator.
Retries Period – 10 to 1440 minutes.
Password depth – 1 to 10; not available on the standard version of Notion Pro.
Minimum Password Length – 8 to 50 characters.
Minimum Numbers, Minimum Letters, and Minimum Upper Case – 1 to 50, these values are consistency checked, against minimum length and each other.
Changing the Password
|
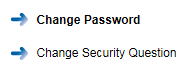
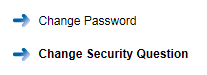
To change your password select Settings>Account Settings then Change Password to give the Change Password dialogue box. See below. |
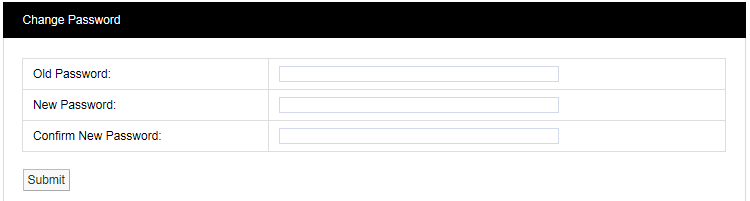
Enter the old password in the Old Password field. Enter the new password in the New Password field, enter it again in the Confirm New Password field.
| Note: | It is recommended that a password be at least eight characters in length and contain at least one number, one letter, one uppercase letter. |
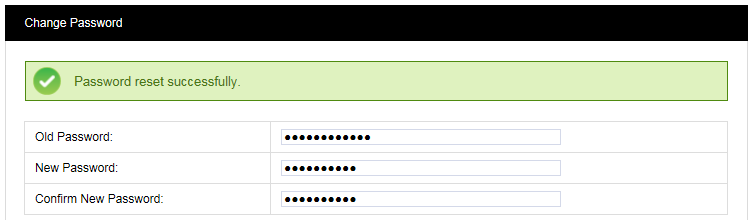
Click Submit. The message shown below will be displayed to confirm a successful password reset.
Changing your Security Question
You will need to know the answer to your security question if you have forgotten your password and you have to click on the Forgotten password? Link on the Sign In screen.
|
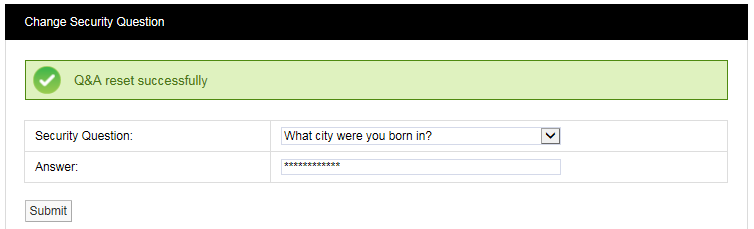
To change your security question select Settings>Account Settings then Change Security Question to give the Change Security Question dialogue box. See below. |
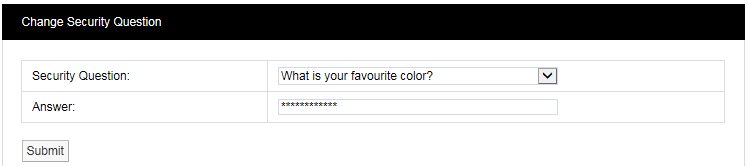
Select your desired question from the Security Question pull-down list, the enter the answer into the Answer field, then click Submit. Click Submit. The message shown below will be displayed to confirm a successful password reset.