The options under this menu concern setting up user alerts by email and SMS. A user must be a member of an Alert Group in order to receive messages specified when setting up the System Configuration.
User Alerts provide automated Alarm notification delivered via Email or SMS or both. (An SMS Module is required for SMS Alarms).
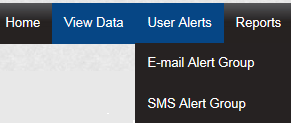
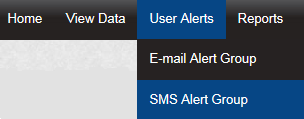
This section will take you through the use and settings for Email alarms and SMS Alarms. To access the User Alert settings select User Alerts from the main menu, see below.
Email Alert Group
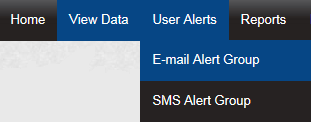
To access the Email Alert Group settings select E-Mail Alert Group from the menu, see below.
After selecting E-mail Alert Group, select ![]() . The Create Email Alert Group window appears, see below.
. The Create Email Alert Group window appears, see below.
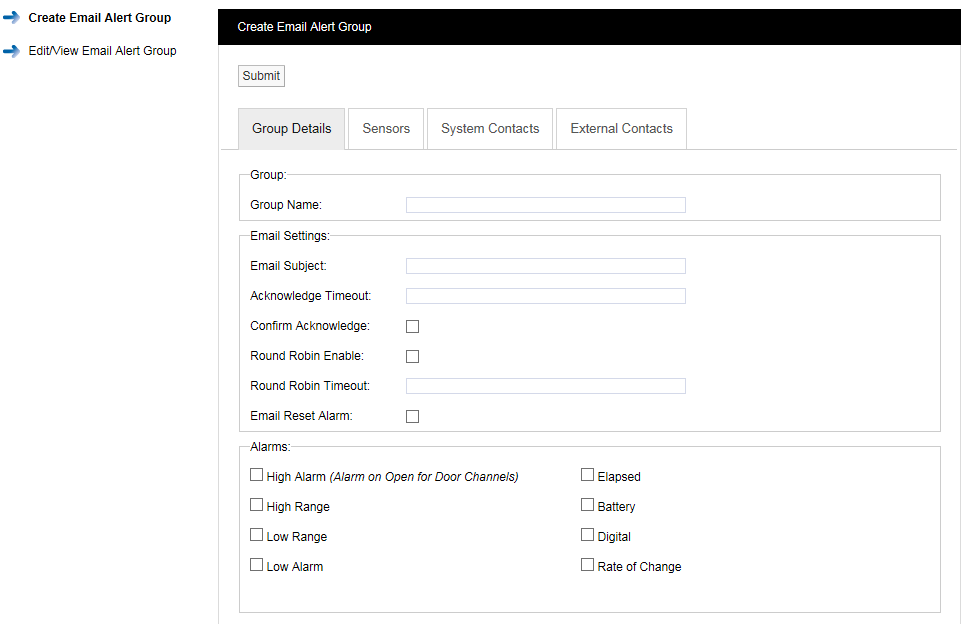
The window above allows Alert Groups to be created and configured for the automated notification of email Alarms.
Step 1
Input a Group Name. This can be something that makes sense to the Site in question or something related to the function. For this example, we will call the group, “Service Email” this will be a Group that sends email Alarms to the Service Engineers.
Step 2
Enter a subject title for the Email into Email Subject. For this example we will call it “System Alarm on Notion Pro Site” this would then alert the engineer in the email subject that they were getting an email about an Alarm condition on that Site.
Step 3
Enter an Acknowledge Timeout. This is the time that the system will wait for an acknowledgement email. This should be entered in time format like this 12:00:00, this would be a 12 hour delay.
Step 4
Select the tick box next to Confirm Acknowledge if an acknowledgement email is required.
Step 5
Email Alerts can be sent in "Round Robin" mode. Round Robin mode is when email alerts are sent to the first name in the list. If there is no response within the time limit the system moves on to the next person in the list and so on until a response is received, or emails have been sent to everybody in the list. To activate Round Robin mode select the tick box next to Round Robin Enable.
Step 6
You can select the time period the system waits before sending the next email, this should be entered in the Round Robin Timeout field in time format like this: 00:15:00. This would be a 15 minute delay.
Step 7
If required, a reply email can be sent which will reset the alarms. To activate this feature select the tick box next to Email Reset Alarm.
Step 8
Select the alarm parameters that Email Alerts are required for by clicking in the tick box next to the alarm condition within the Alarms panel. Multiple selections can be made.
Step 9
Select the Sensors that you require to be included in the Alert Group. Click on the Sensors tab. A new window will appear, see below.
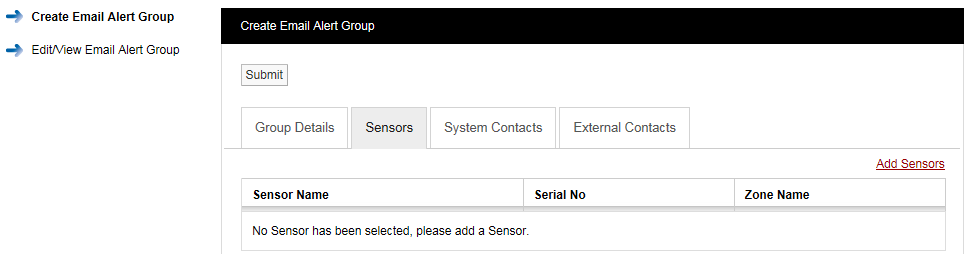
To add sensors click the underlined Add Sensors link. A new window will appear, see below.
To select a Sensor first select a Zone from the Zone Name: drop down menu. As the Zone is selected the available sensors in that Zone will populate the left column (Source List). To select Sensors highlight the ones that you want to generate email alerts for then click To deselect Sensors highlight them in the right column and click To move all Sensors across click the double arrows. Once happy with you selection select Submit. |
|

To add Contacts to the Group select the System Contacts tab, see below.
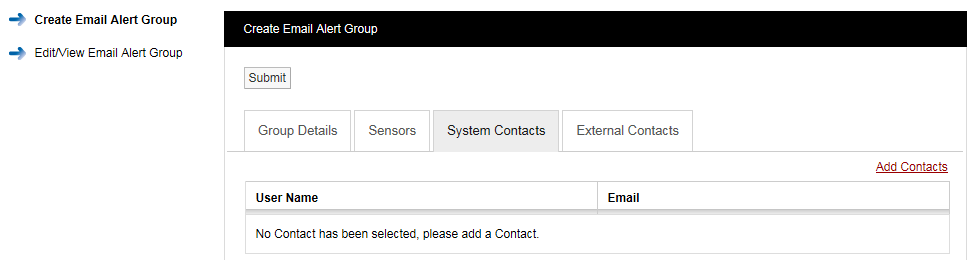
Contacts are the people that you want alerting by email when any of the selected sensors are in Alarm. To add Contacts select Add Contacts. A new window will appear, see below for example.
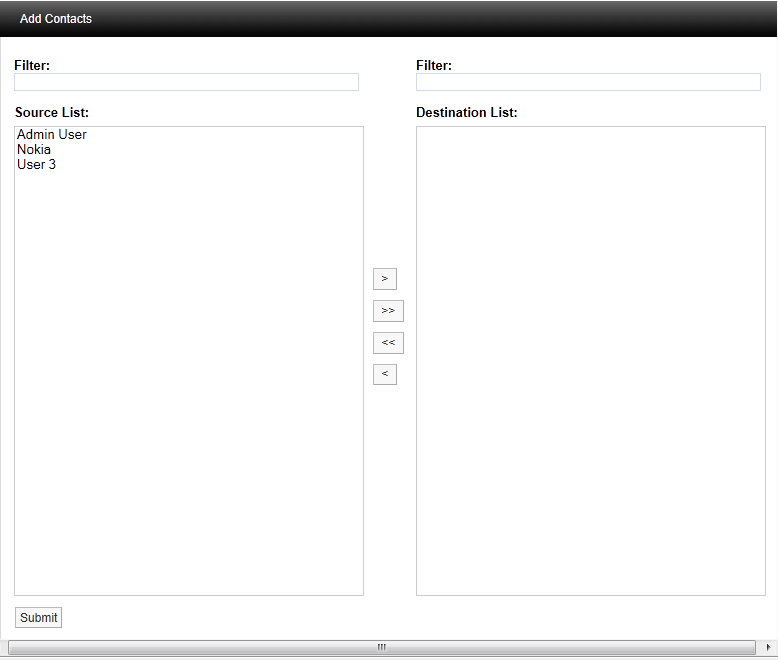
To select a Contact or Contacts highlight the required contacts and select ![]() , to de-select a Contact highlight the Contact and select
, to de-select a Contact highlight the Contact and select ![]() .
.
When happy with the details select Submit.
There is an option to have email Alarms sent to non-Notion Pro Users or External Contacts. See User Management.
To select External Contacts click the External Contacts tab and follow the procedure above for adding System Contacts.
To access the SMS Alert Group settings select SMS Alert Group from the menu, see below.
After selecting SMS Alert Group the Create SMS Alert Group window appears, see below.
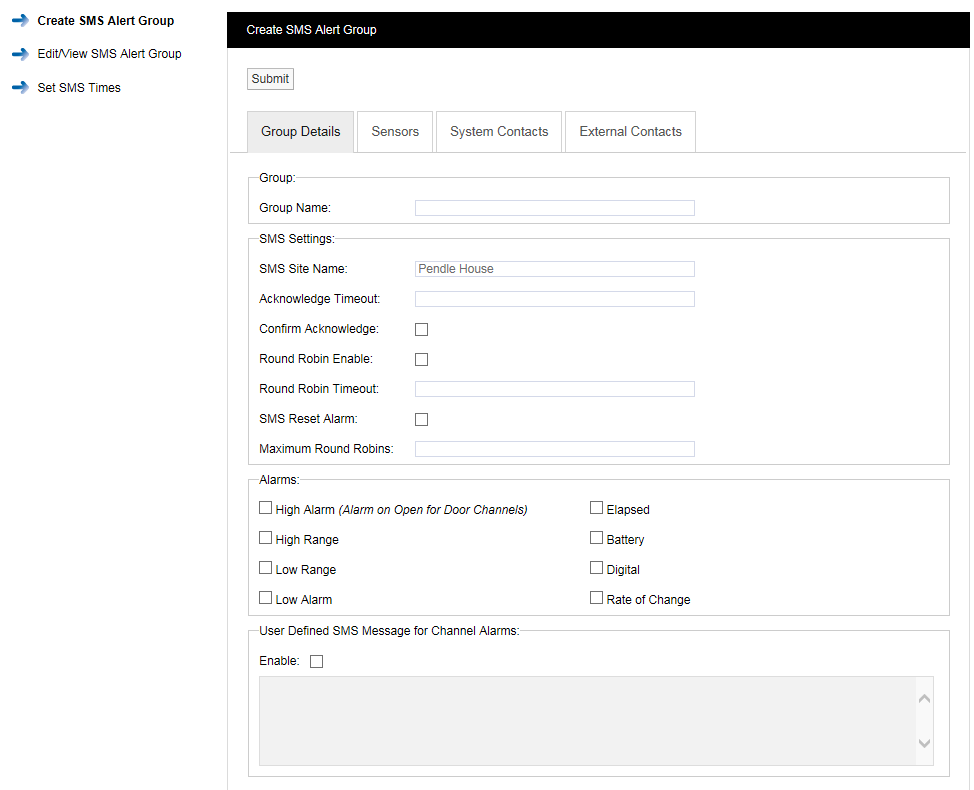
The window above allows SMS Alert User Groups to be created and configured for the automated notification of SMS Alarms.
Step 1
Input a Group Name. This can be something that makes sense to the Site in question or something related to the function. For, example we could call the group, “Service SMS”. This will be a group that sends SMS Alarms to the Service Engineers.
Step 2
Enter an Acknowledge Timeout. This is the time that the system will wait for an acknowledgement message before re-sending the message. This should be entered in time format like this: 00:10:00. This would be a 10 minute delay.
Step 3
Select the tick box next to Confirm Acknowledge if an acknowledgement SMS message is required.
Step 4
SMS Alerts can be sent in "Round Robin" mode. Round Robin mode is when SMS Alerts are sent to the first name in the list. If there is no response within the time limit the system moves on to the next person in the list and so on until a response is received. To activate Round Robin mode select the tick box next to Round Robin Enable.
Step 5
You can select the time period the system waits before sending the next message, this should be entered in time format like this: 00:15:00. This would be a 15 minute delay.
Step 6
If you require, a Reply SMS can be sent which will reset the Alarms. To activate this feature select the tick box next to SMS Reset Alarm.
Step 7
The number of times the system will go around the Round Robin loop can be limited. To activate this feature enter the number of times the system should go round the loop in the Maximum Round Robins field.
Step 8
Select the Alarm parameters that Email Alerts are required for by clicking in the tick box next to the Alarm condition within the Alarms panel. Multiple selections can be made.
Step 9
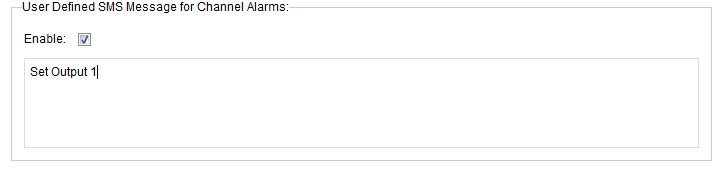
For Channel Alarms, you may define your own text message, (this can be used to trigger events on a 3rd-party system with SMS receive capability).
To set-up the required message select Enable and enter the required text in the text box. See below.
Step 10
Select the Sensors that you require to be included in the Alert Group. To select sensors click on the Sensors tab. A new window will appear, see below.
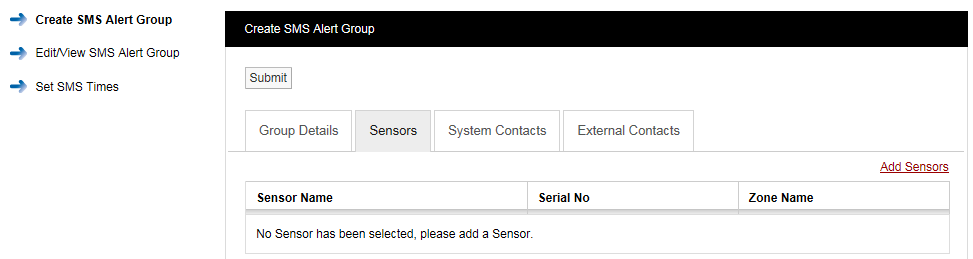
To add sensors click the Add Sensors link, a new window will appear, see below.
|
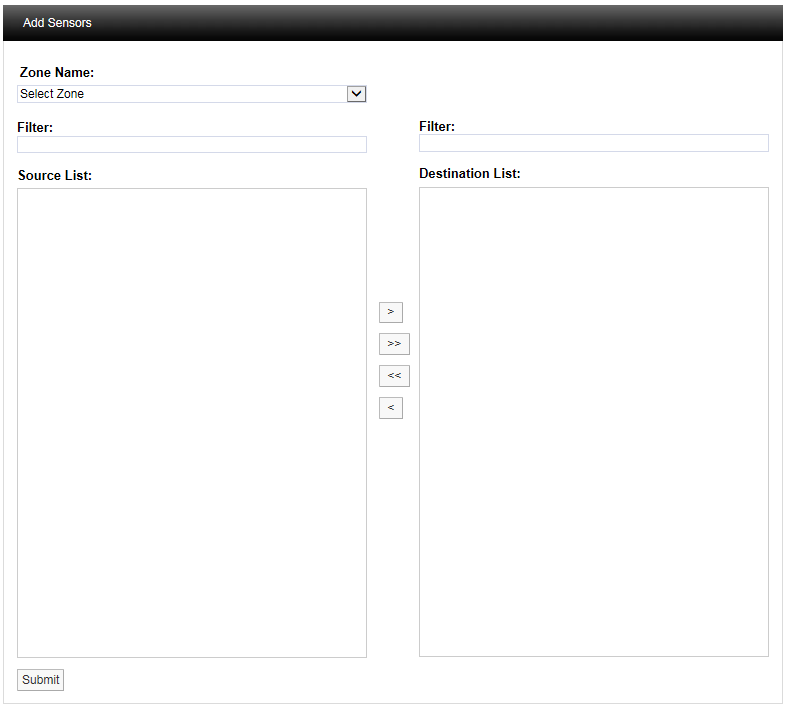
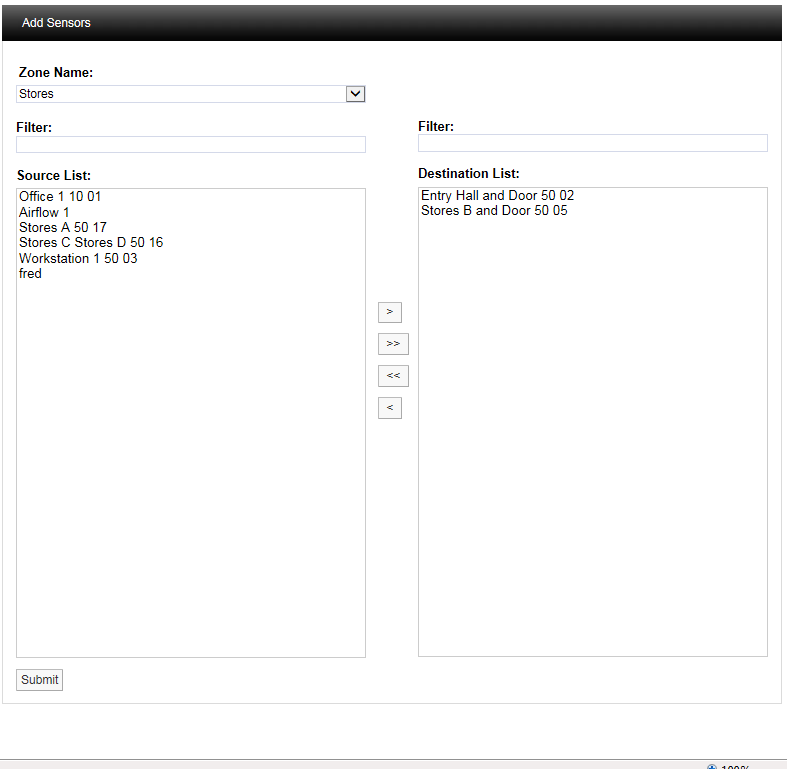
To select a Sensor first select a Zone from the drop down menu. As the Zone is selected the available Sensors will populate the left column (Source List). To select sensors highlight the ones that you want to generate email alerts for then click To deselect Sensors highlight them in the right column and then click To move all Sensors across click the double arrows. Once happy with you selection select Submit. See below for example.
|
To add Contacts to the Group select the System Contacts tab. A new window will appear, see below.
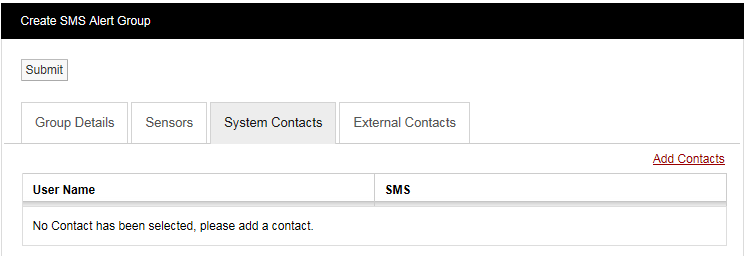
Contacts are the people that you want alerting by email when any of the selected Sensors are in Alarm. To add Contacts select Add Contacts. A new window will appear see below.
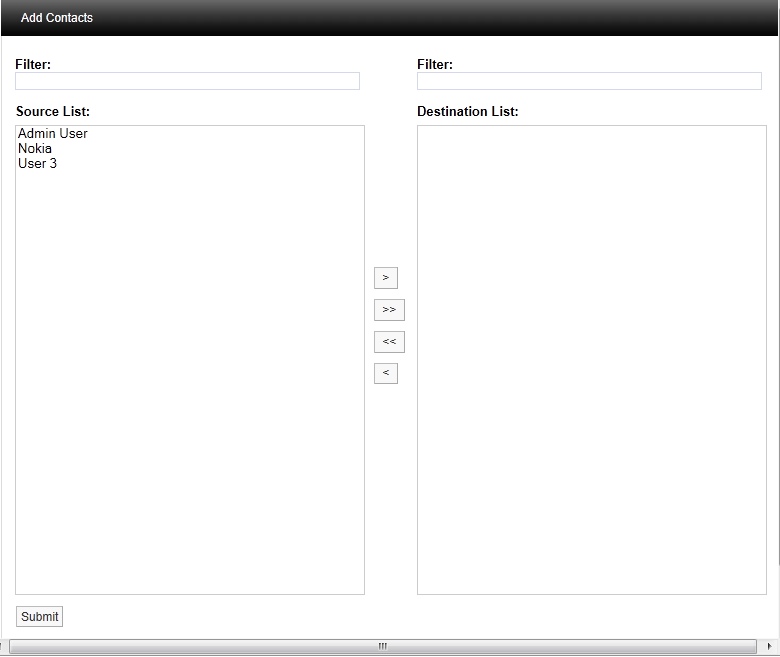
To select a Contact or Contacts highlight the required Contacts and select ![]() , to de-select a Contact highlight the Contact and click
, to de-select a Contact highlight the Contact and click ![]() . When happy with the details select Submit.
. When happy with the details select Submit.
There is an option to have email Alarms sent to non-Notion Pro Users or External Contacts. To add External Contacts to the system see Create External Contacts.
To select External Contacts follow the procedure above for adding System Contacts.
Set SMS Times
You can set times of day within which SMS messages can be sent. Select Set SMS Times to give the Set SMS Times dialogue box. See below.
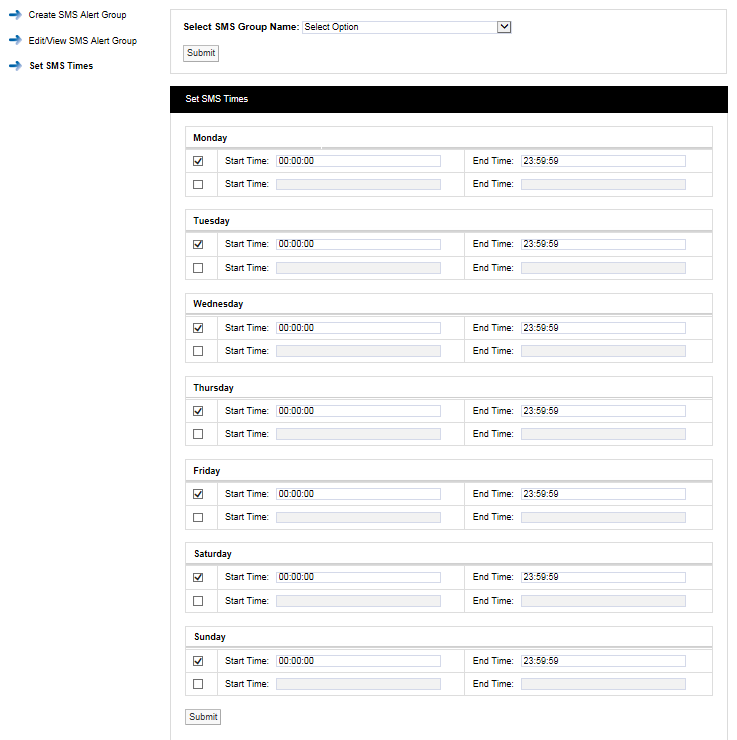
Select the required SMS Alert Group from the Select SMS Group Name pull-down menu.
For each day of the week, select the required Start and End times for SMS messaging. If necessary, two Start and End time periods can be set within a single 24-hour period.
Enter Start and End times as required, then click Submit.