You can separate Users into User Groups. User Groups allow Privileges to be set, so that only members of a given User Group will have the privilege to be able to view data relating to the User Group. Users added to a Group inherit the viewing privileges associated with that Group.
1.Select Admin>User Group Management. The Create User Group dialogue box appears.
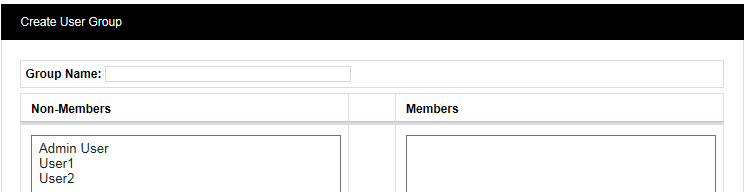
(In this example, two new Users, named User1 and User2 have been created. None of them are members of a Group yet.)
2.Enter a name for the Group into the Group Name: field.
3.Select a user in the Non-Members list who you want to be member of the named Group.
4.Click ![]() .
.
5.Repeat as necessary (or hold down the Ctrl key while selecting users, then click ![]() ).
).
6.Click ![]() .
.
Note: You can define a Group to correspond to physical location on a Site. Another approach would be to define and name Groups by sensor type, for example, a Group for all temperature sensors or a Group for all humidity sensors (or a Group for all temperature and humidity sensors).
See Also: