The Hanwell ThermoBarScan software enables the User to perform the initial configuration of a TME MM7000, download stored data and provides real time reading of data.
It is capable of translating barcodes with product and/or location descriptions supplied by the Customer.
•ThermoBarScan Software – Hardware Requirements
•Installing the Hanwell ThermoBarScan Software on a PC or Laptop
•Setting Up Bluetooth Communication Between PC and MM7000
Discovery - Windows Configuration
Hanwell ThermoBarScan Software – Hardware Requirements
Either:
•PC or laptop without Bluetooth capabilities.
•Bluetooth dongle
Hanwell recommends the Belkin dongle with Widcom stack.
Or:
•Bluetooth enabled PC or laptop.
Installing the Hanwell ThermoBarScan Software on a PC or Laptop
| Note: | If you need to install a Bluetooth dongle, please install this before installing the ThermoBarScan software. |
1.In your browser, navigate to: http://www.supportftp.Hanwell.com/Software/IMC%20ThermoBarScan%20V8.7.0.0.zip
•The following window is displayed. See Figure 35 below:
Figure 35
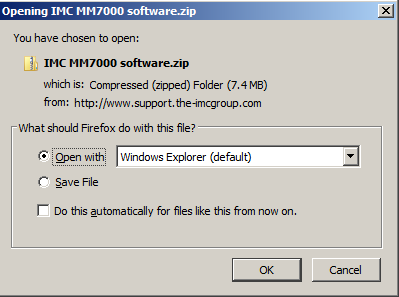
2.Check the Open with toggle.
| Note: | To save the IMC MM7000 software.zip file and install the software later, check the Save File toggle. |
3.Click OK.
•The IMC MM7000 software folder is displayed in Windows Explorer.
4.Open the folder and double-click on the setup file.
•The Open File – Security Warning window is displayed. See Figure 36 below:
Figure 36
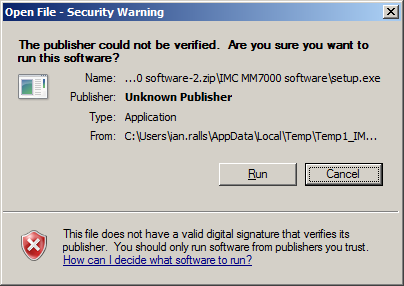
5.Click on Run.
•The User Account Control window is displayed.
6.Click Yes.
•The Setup - TME Welcome to the TME Setup Wizard window is displayed. See Figure 37 below:
Figure 37
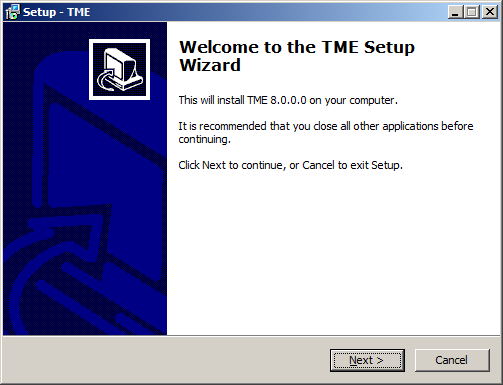
7.Click on Next >.
•The Setup - TME Select Destination Location window is displayed. See Figure 38 below:
Figure 38
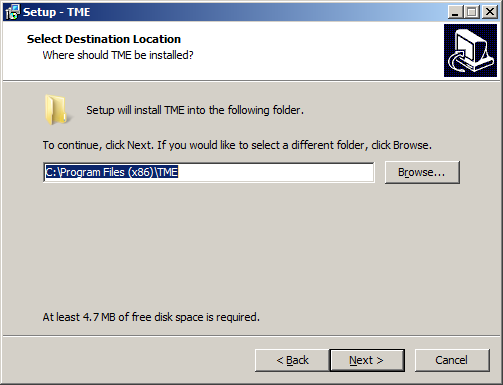
8.Select a destination folder to install the TME software into.
9.Click on Next >
•The Setup – TME Completing the TME Setup Wizard window is displayed. See Figure 39 below:
Figure 39
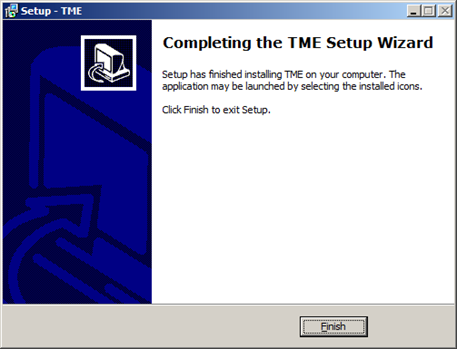
10.Click Finish.
•The ThermoBarScan software will automatically create a shortcut icon on your desktop so the software can be easily accessed.
11.Start the ThermoBarScan software by clicking on the desktop icon. See Figure 40 below:
Figure 40

12.The ThermoBarScan interface window is displayed. See Figure 41 below:
Figure 41
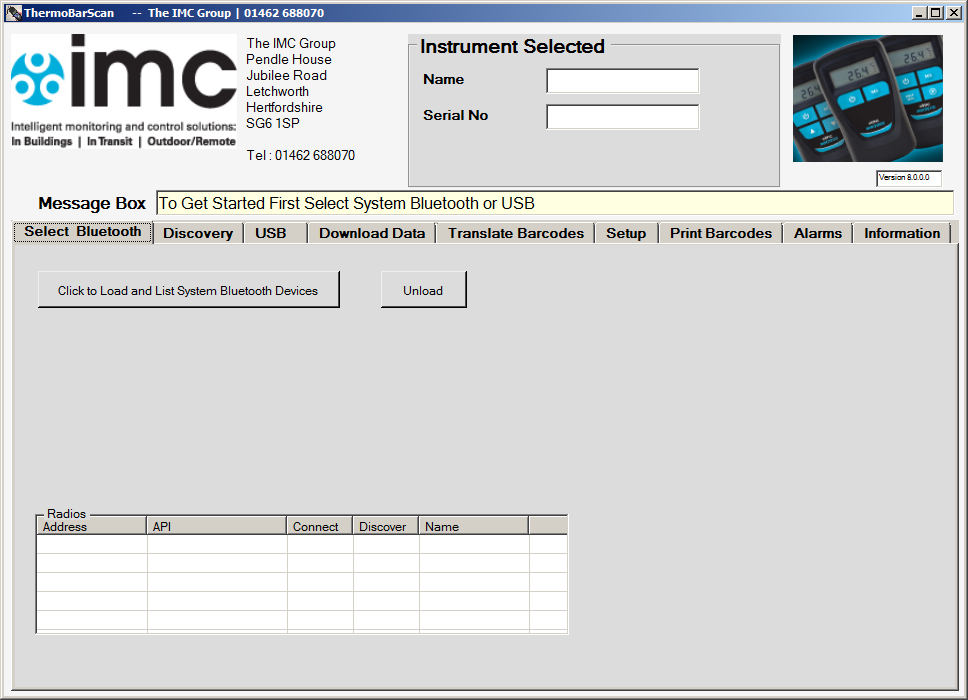
•You can now progress to setting up Bluetooth communication between the PC on which the ThermoBarScan software is installed and the MM7000 to enable its initial configuration.
| Note: | The MM7000’s Name and Serial number will only be displayed when Bluetooth communication has been established between the PC on which the ThermoBarScan software is installed and the MM7000/ThermoBarScan device. |
Setting Up Bluetooth Communication Between PC and MM7000
To configure Bluetooth communication between the PC on which the ThermoBarScan software is installed and an MM7000:
1.In the ThermoBarScan interface window (see Figure 41 above) click on the Select Bluetooth tab.
2.In the displayed window, select Click To Load And List System Bluetooth Devices.
•You should now see at least one of the driver boxes ticked and any Bluetooth devices within Bluetooth range will be displayed with their Bluetooth addresses shown. See Figure 42 below:
Figure 42
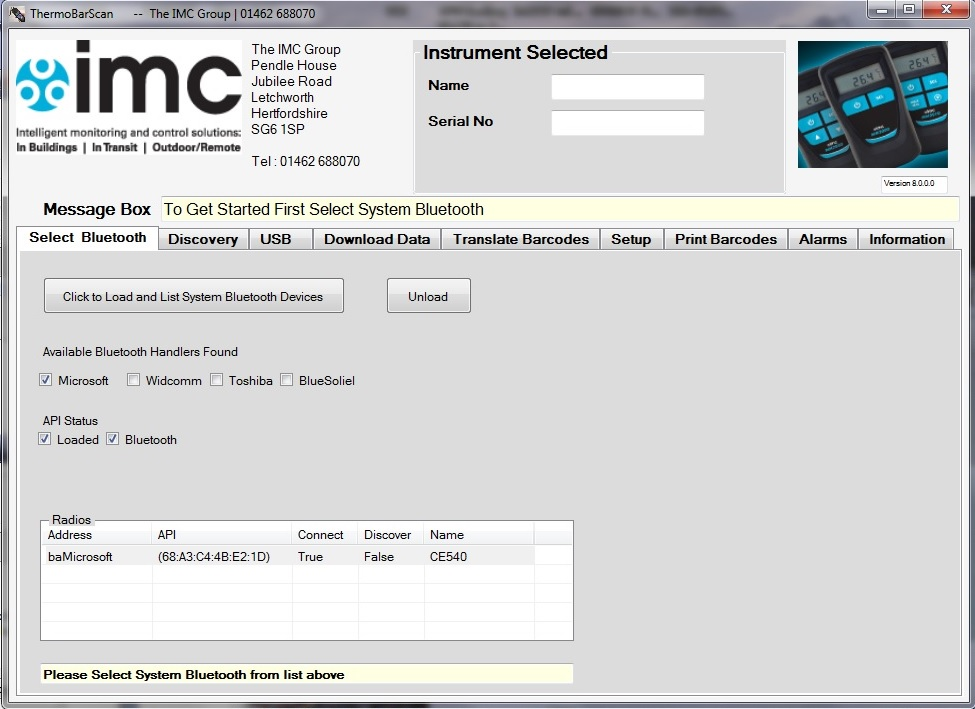
| Note: | Ellab Monitoring Solutions Ltd recommends either Microsoft or Widcom as drivers. |
3.Click on the MM7000/ThermoBarScan device you wish to connect to and define parameters for.
•Once connected, the software will display the instrument’s Name and Serial Number.
•To swap between MM7000/ThermoBarScan devices to define their parameters, simply click on another entry in the table.
4.Make a note of the displayed Name and Serial Number.
5.Turn on your MM7000 and press the Bluetooth button. See Figure 43 below:
Figure 43

•The word ‘Blue’ is shown on the unit’s display, signifying that the instrument is now in Bluetooth mode.
| Note: | The instrument must remain with the Bluetooth enabled (showing the word ‘Blue’) during Discovery. |
1.Select the Discovery tab.
2.Click on Click Here To Start Discovery And Select Instrument. See Figure 44 below:
Figure 44

•The devices within Bluetooth range will be displayed and their Bluetooth addresses shown.
Note: The MM7000’s Name and Serial number will only be displayed when Bluetooth communication has been established between the PC on which the ThermoBarScan software is installed and the MM7000/ThermoBarScan device.
3.Click on arrow next to the MM7000 you wish to connect to (refer to Name and Serial Number noted above).
•The line containing the selected MM7000 is highlighted.
4.Once connected, the software will display the MM7000’s Name and Serial number.
•To swap between MM7000 devices, simply click on another listed MM7000.
Discovery - Windows Configuration
![]() Click here if you need to make the MM7000 discoverable to Windows.
Click here if you need to make the MM7000 discoverable to Windows.
Windows 7 1.Go to the Control Panel. 2.Search for ‘Bluetooth’. 3.Click on Change Bluetooth settings. 4.In the displayed Bluetooth Settings window, check the Allow Bluetooth devices to find this PC option. 5.Click on the Apply button. Windows 8 and 10 1.Go to Settings. 2.Click on Devices. 3.In the displayed window, click Bluetooth in the left hand menu. •The Bluetooth ‘switch’ is set to On. 4.Under Manage Bluetooth Devices, click on Related Settings - More Bluetooth options •This will open the Bluetooth Settings window. 5.Click on the Options tab. 6.Check the Allow Bluetooth devices to find this PC option in the Discovery section. 7.Click the Apply button. If you experience further issues with Bluetooth connectivity, please contact Ellab Monitoring Solutions Ltd. |
You can now carry out initial setup of the MM700 by defining the parameters accessed by clicking on the Setup tab in the main ThermoBarScan window. See Figure 45 below:
Figure 45
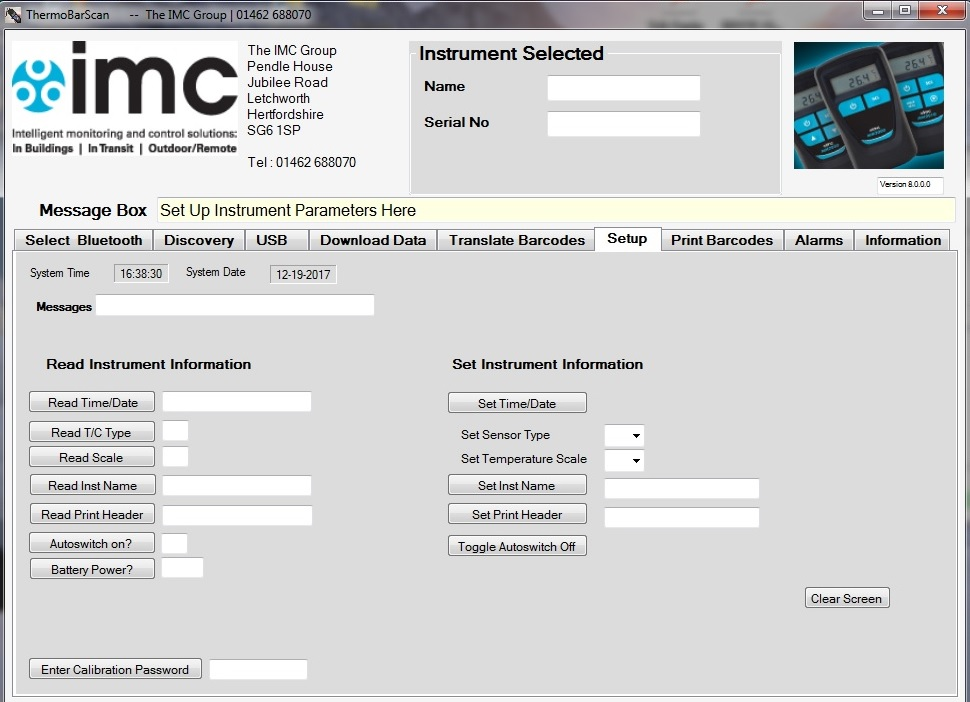
•Set Time and Date – sets the time and date.
•Sensor Type – sets the thermocouple type.
•Set Temperature Scale – sets the temperature scale e.g. °C / °F.
•Set Inst Name – allows you to enter a unique name for the MM7000.
•Set Print Header – allows you to assign a heading for the print reports when using the Bluetooth Printer.
Other User selectable features include:
Autoswitch on? – allows you to check to see if autoswitch off function has been enabled.
Battery power? – allows you to monitor battery life.